Diamond Polishing Switches with Idyllic
Tommy ThaiBuy Now - Diamond Polished Switches
Introduction
Being a keyboard enthusiast, I'm always looking for ways to enjoy the hobby and maximise the time I can spend doing keyboard related things.
Recently, I've been interested in trying out "broken-in" switches and have recently made my own "break-in" machine because I wanted some nice Cherry MX switches for personal use.
Switches supposedly become smoother with friction and use since wear-and-tear is happening at the microscopic level. If you want to learn more for yourself, I can suggest reading up on "Tribology".

After lots of testing, I decided to go with the Diamond paste method to get the smoothest switches. Not only do the switches feel great, the results are very consistent and steps are easily repeatable.
The ability to streamline processes is very important because common sized keyboards require lots of switches and each switch requires manual labour to prepare. To increase productivity, it's important to be efficient with time.
For example: Spending an extra 1 minute per switch might be palatable for a small batch, but if the goal is to prepare 60x switches for a 60%, then that's an extra hour of manual labour required.
Diamond Polishing is a lot more intensive than "breaking-in", however, I'm extremely satisfied with the results in my personal builds and don't regret investing the time because Cherry MX switches have become so much smoother and better sounding afterwards.
My Setup
These are the equipment and tools that I use to produce Diamond Polished switches.
Switch Presser / "Breaking-In" Machine V2

Main Components:
- UM245-T stepper driver
- Nema 23 Non Captive
- Arduino Uni
I decided to make my own machine because I wanted the ability to fully control the "Up and Down" linear motion. The machine I designed is essentially just a non-captive stepper motor which holds the switch plate and presses it into a surface.
Coding everything to work was straight-forward and I just used the Arduino IDE. It runs off a 9v Battery and a 24v 4a Power Supply.

2L Vevor Ultrasonic Cleaner
I bought this because it was like 60AUD; kinda wish I bought a larger variant to fit more things into.

Idyllic Lube Station - XL
Since I own a laser cutter I can make a lot of handy tools. This switch station can hold up to 40x switches at once and has spaces for switch; tops, bottoms and stems.
This is convenient for keeping components paired.

Miscellaneous Tools
These are the other small apparatuses I have lying around and make the job a lot easier.
- Stem Holders
- Acrylic Plates
- Brushes
- Switch Openers
The Process
It takes around 5 minutes of manual labor to completely finish each switch. It's a similar process to lubing switches, twice.
Steps:
1) Open Switch
2) Apply Paste
3) Assemble Switch
4) Actuate 18,000 Times
5) Open Switch
6) Clean Parts in Ultrasonic Cleaner*
7) Dry Parts and Lube leaf
8) Assemble and QC
*Unfortunately, the Ultrasonic Cleaner doesn't remove all the oil and grime off the stem legs and leaves. This means that I have to manually wipe and clean the parts a few times in addition to letting them soak in the Cleaner.
On the plus side, this helps ensure that each part is cleaned thoroughly for maximum smoothness
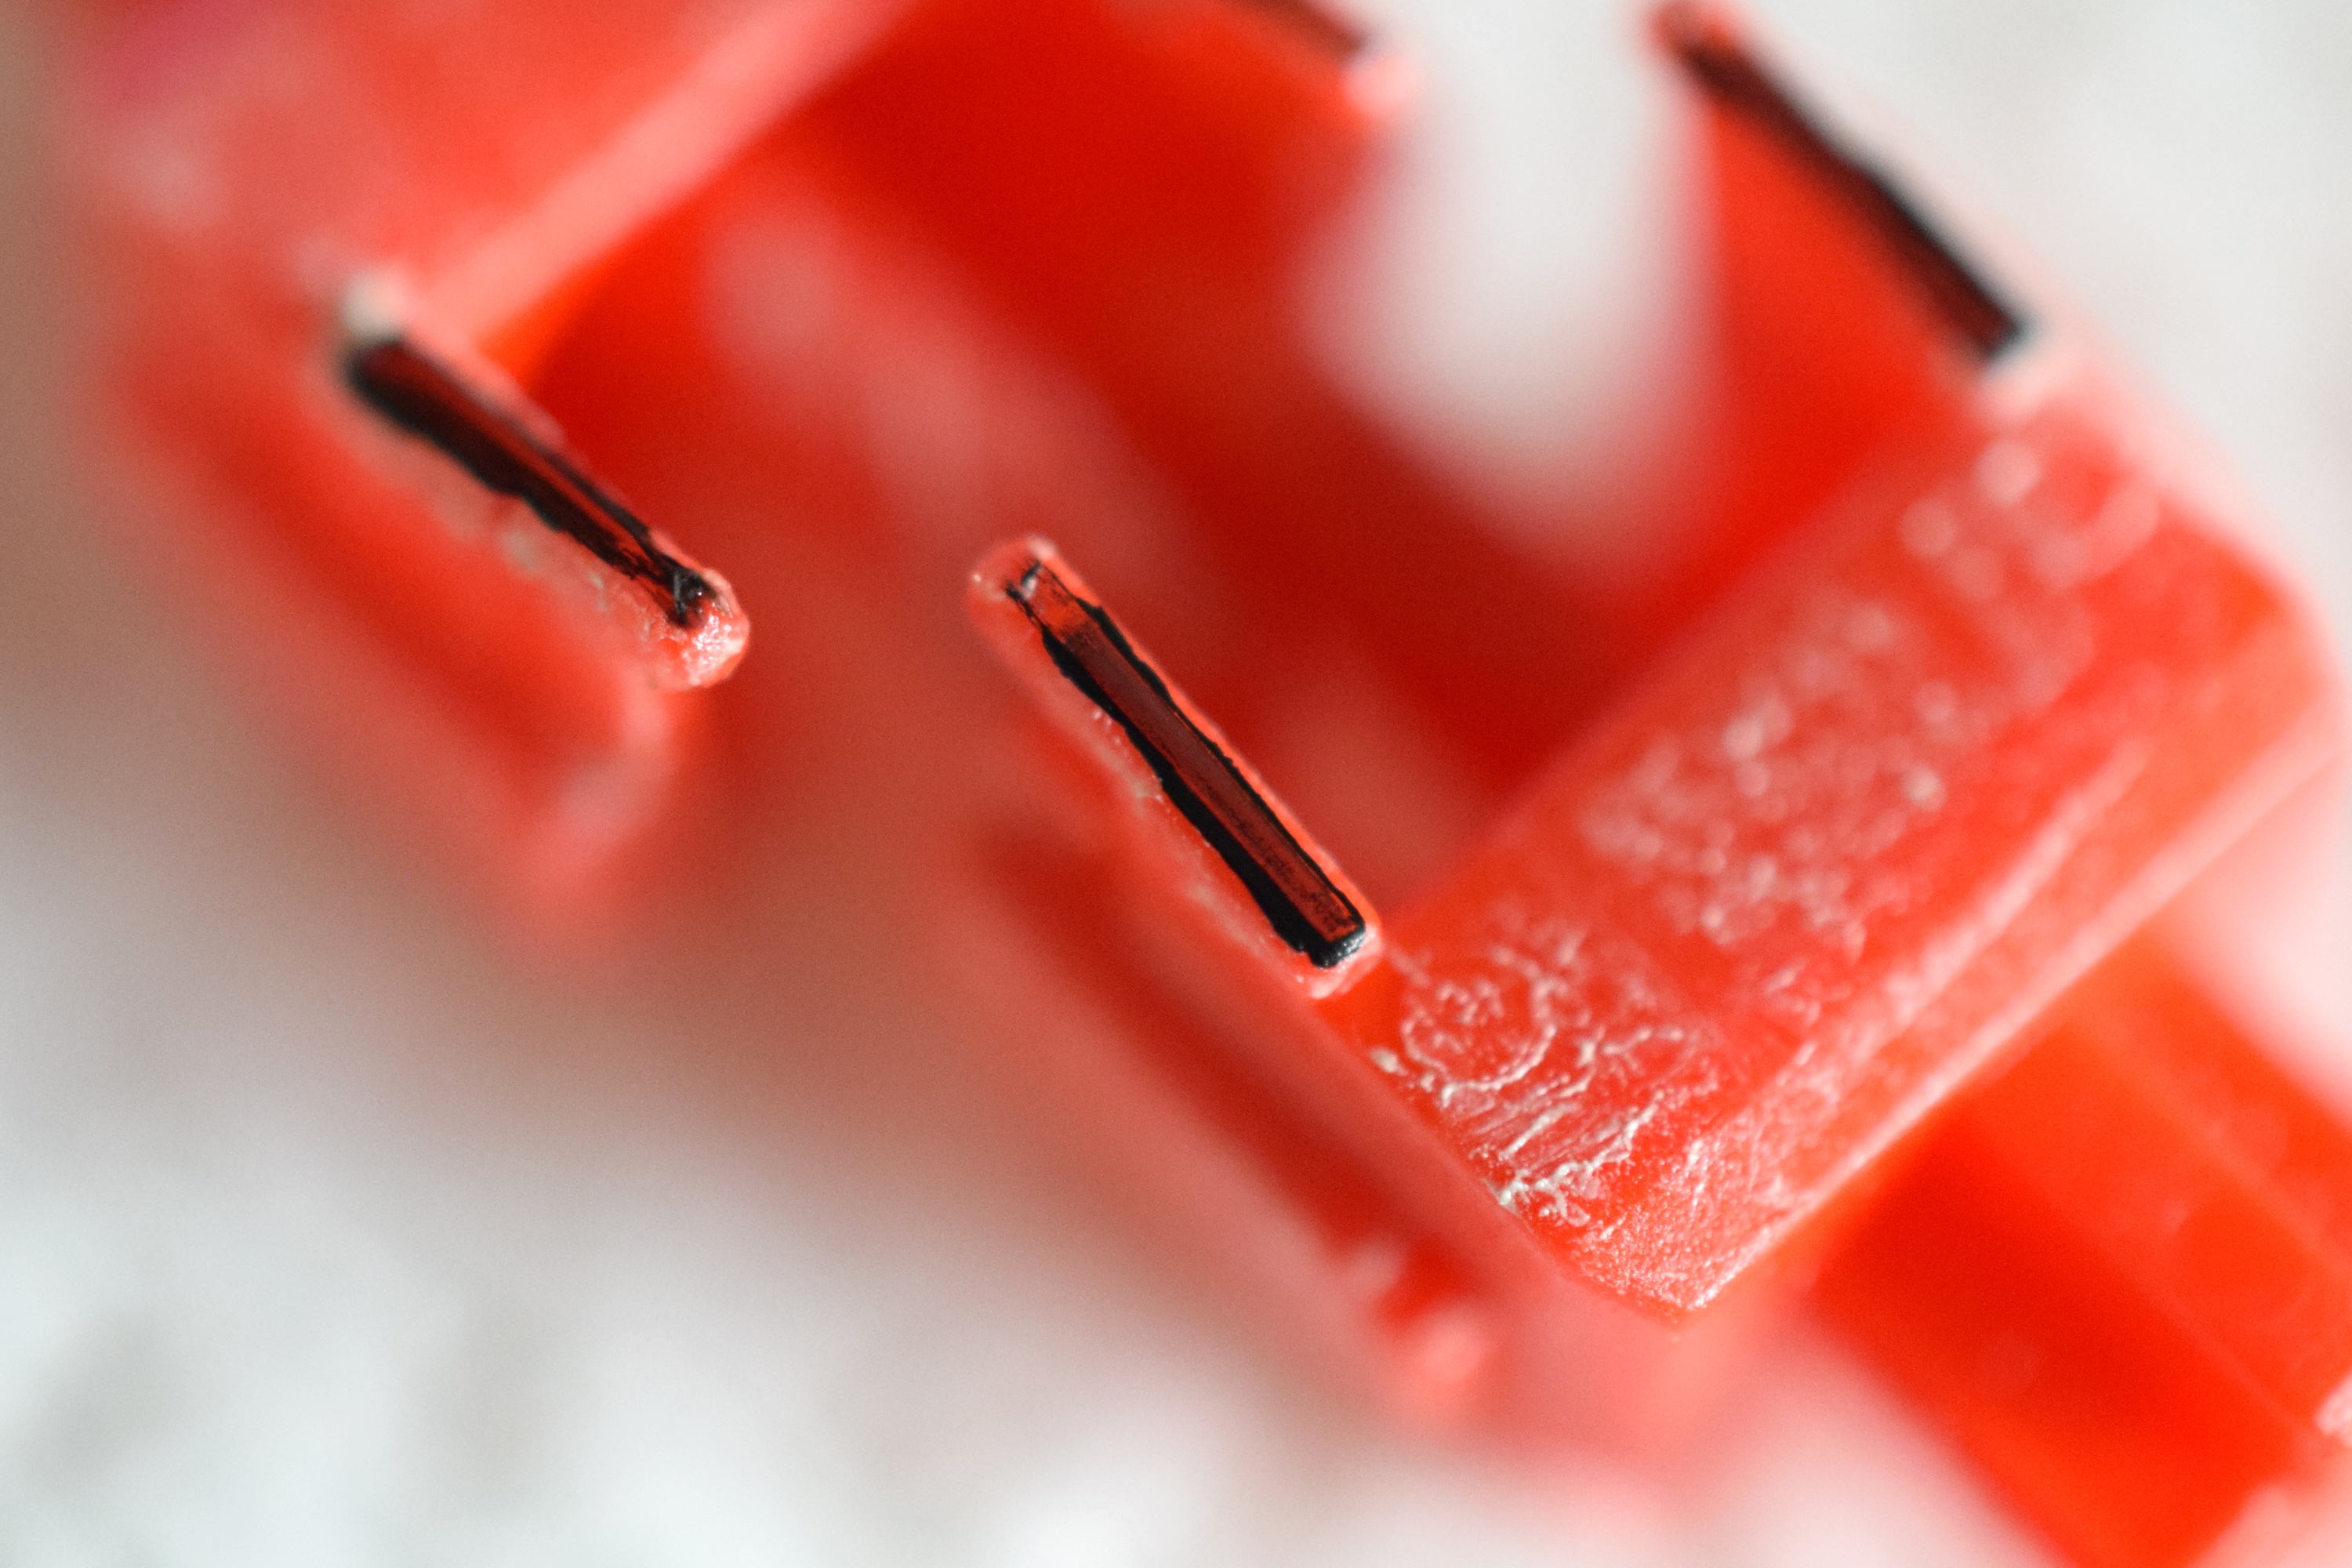 (0.5 Micron Diamond Pasted Cherry MX Red Stems - 10,000 Actuations)